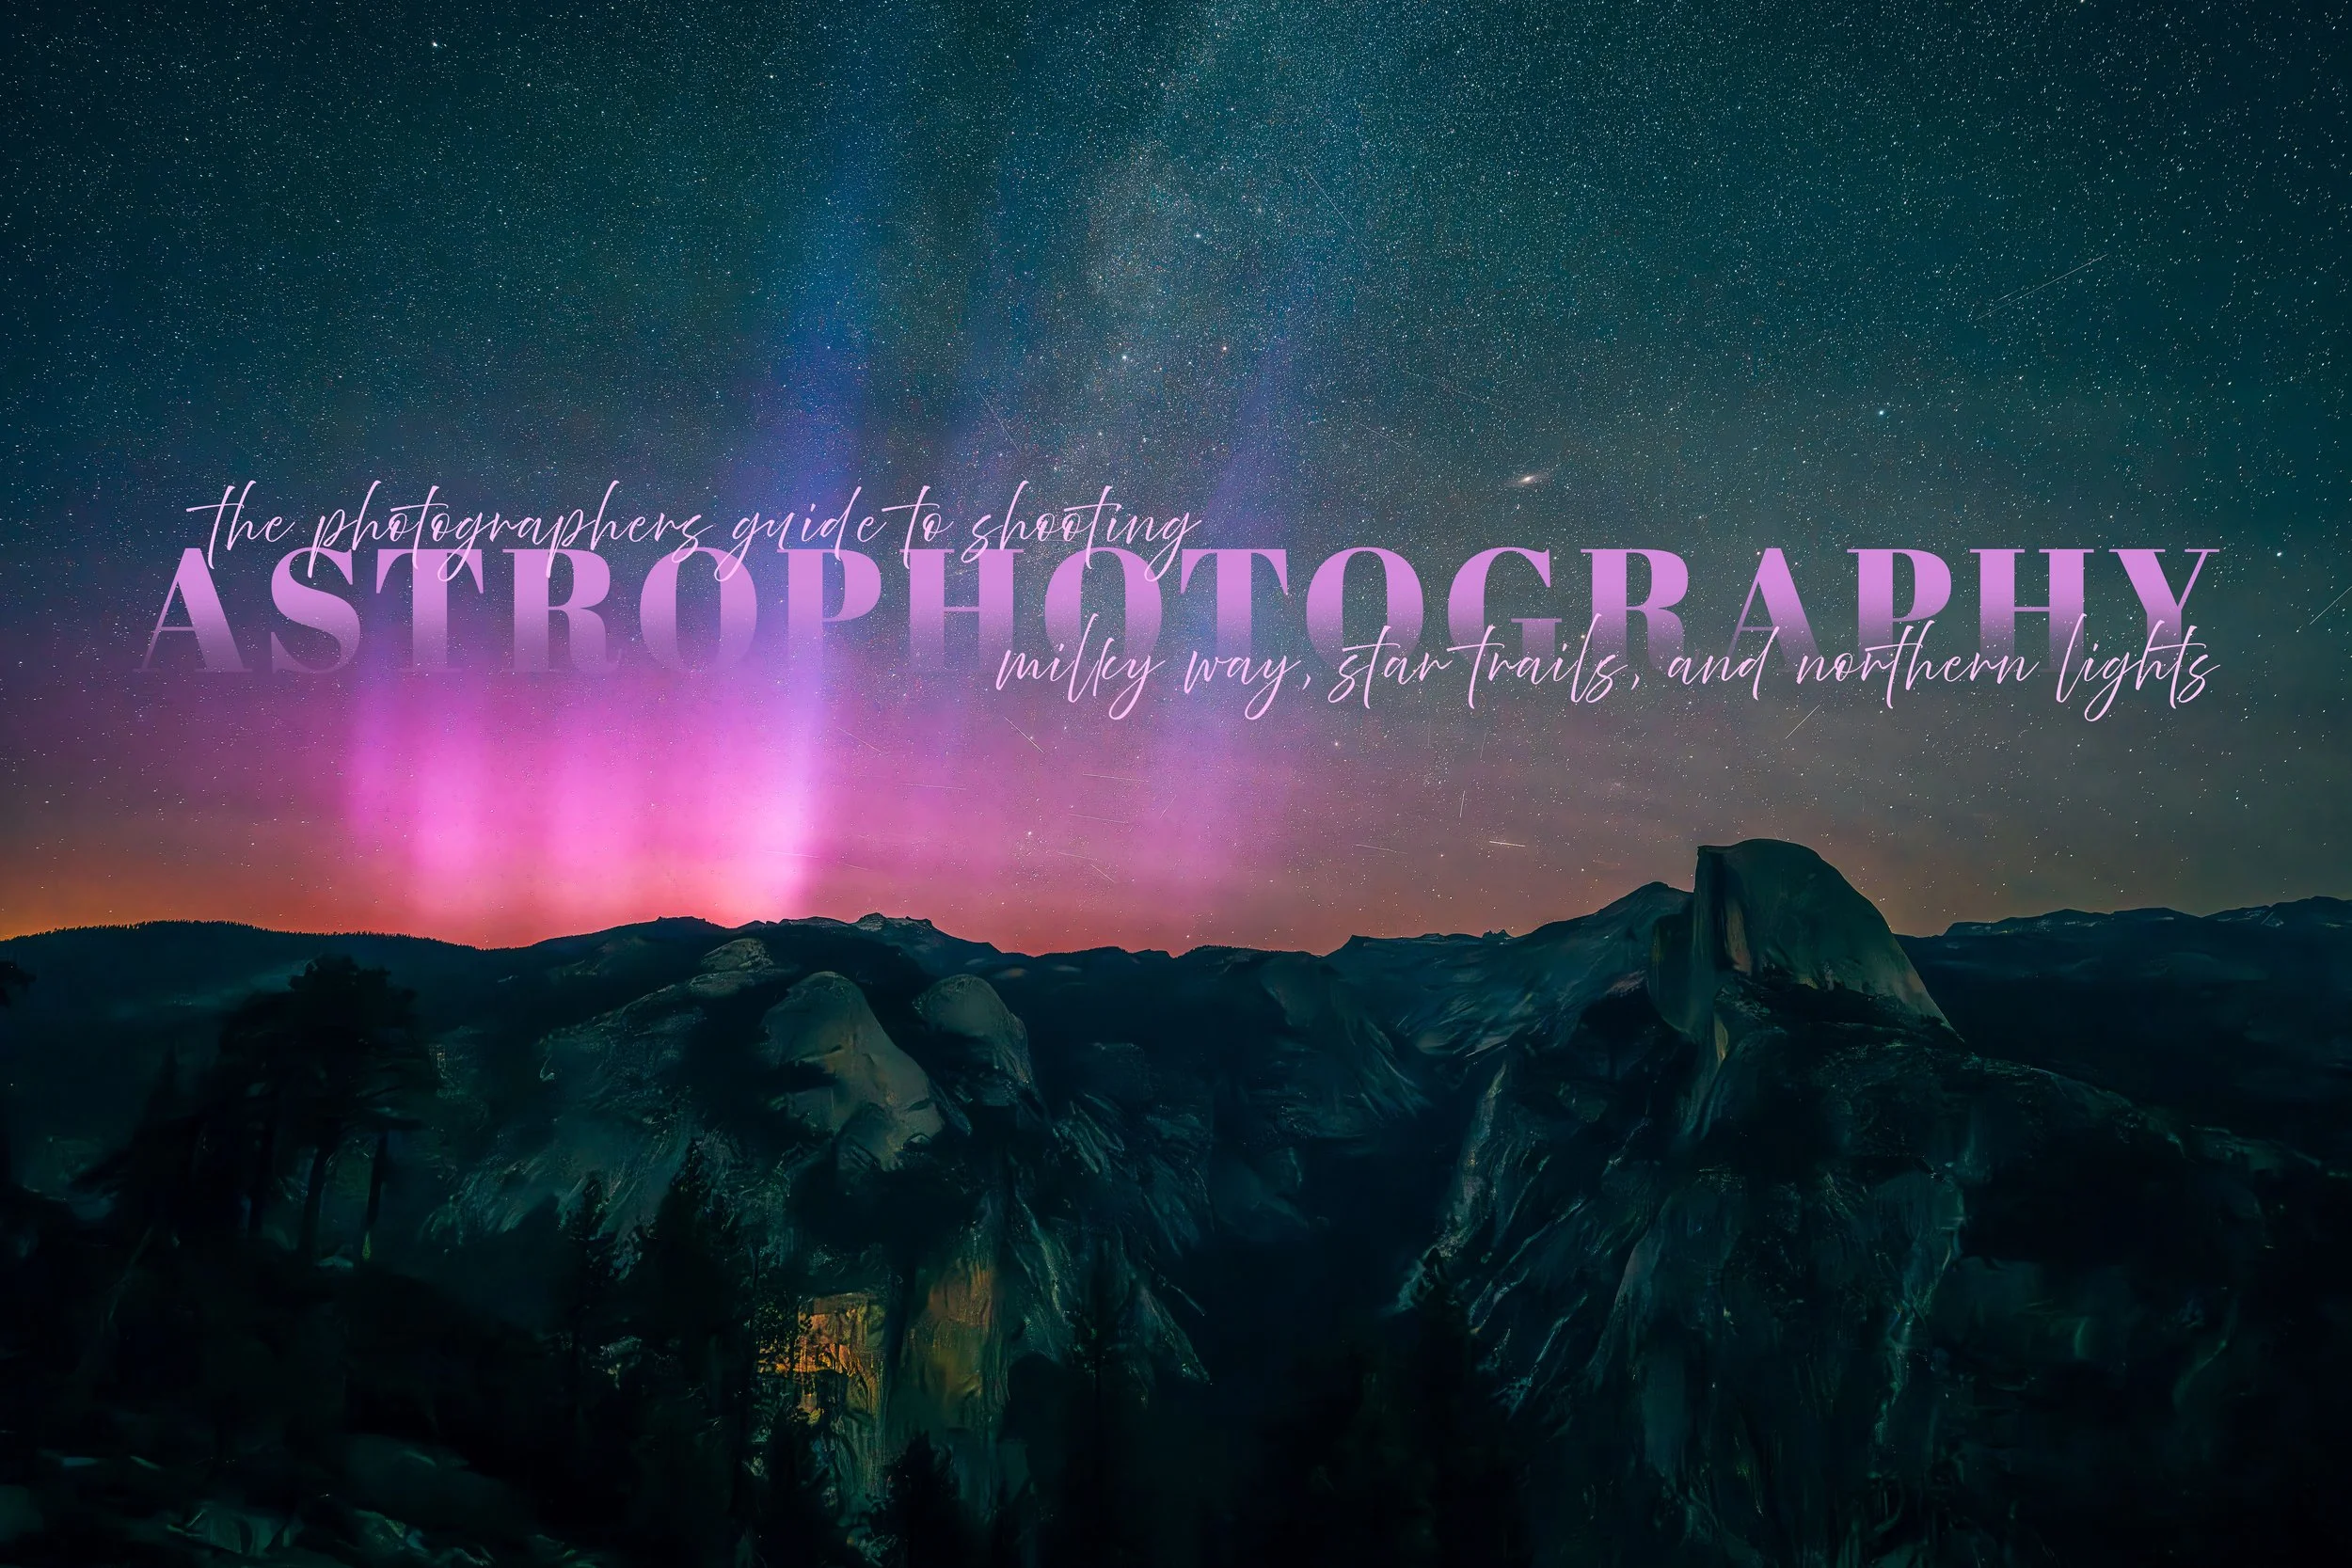
The Astrophotography Guide
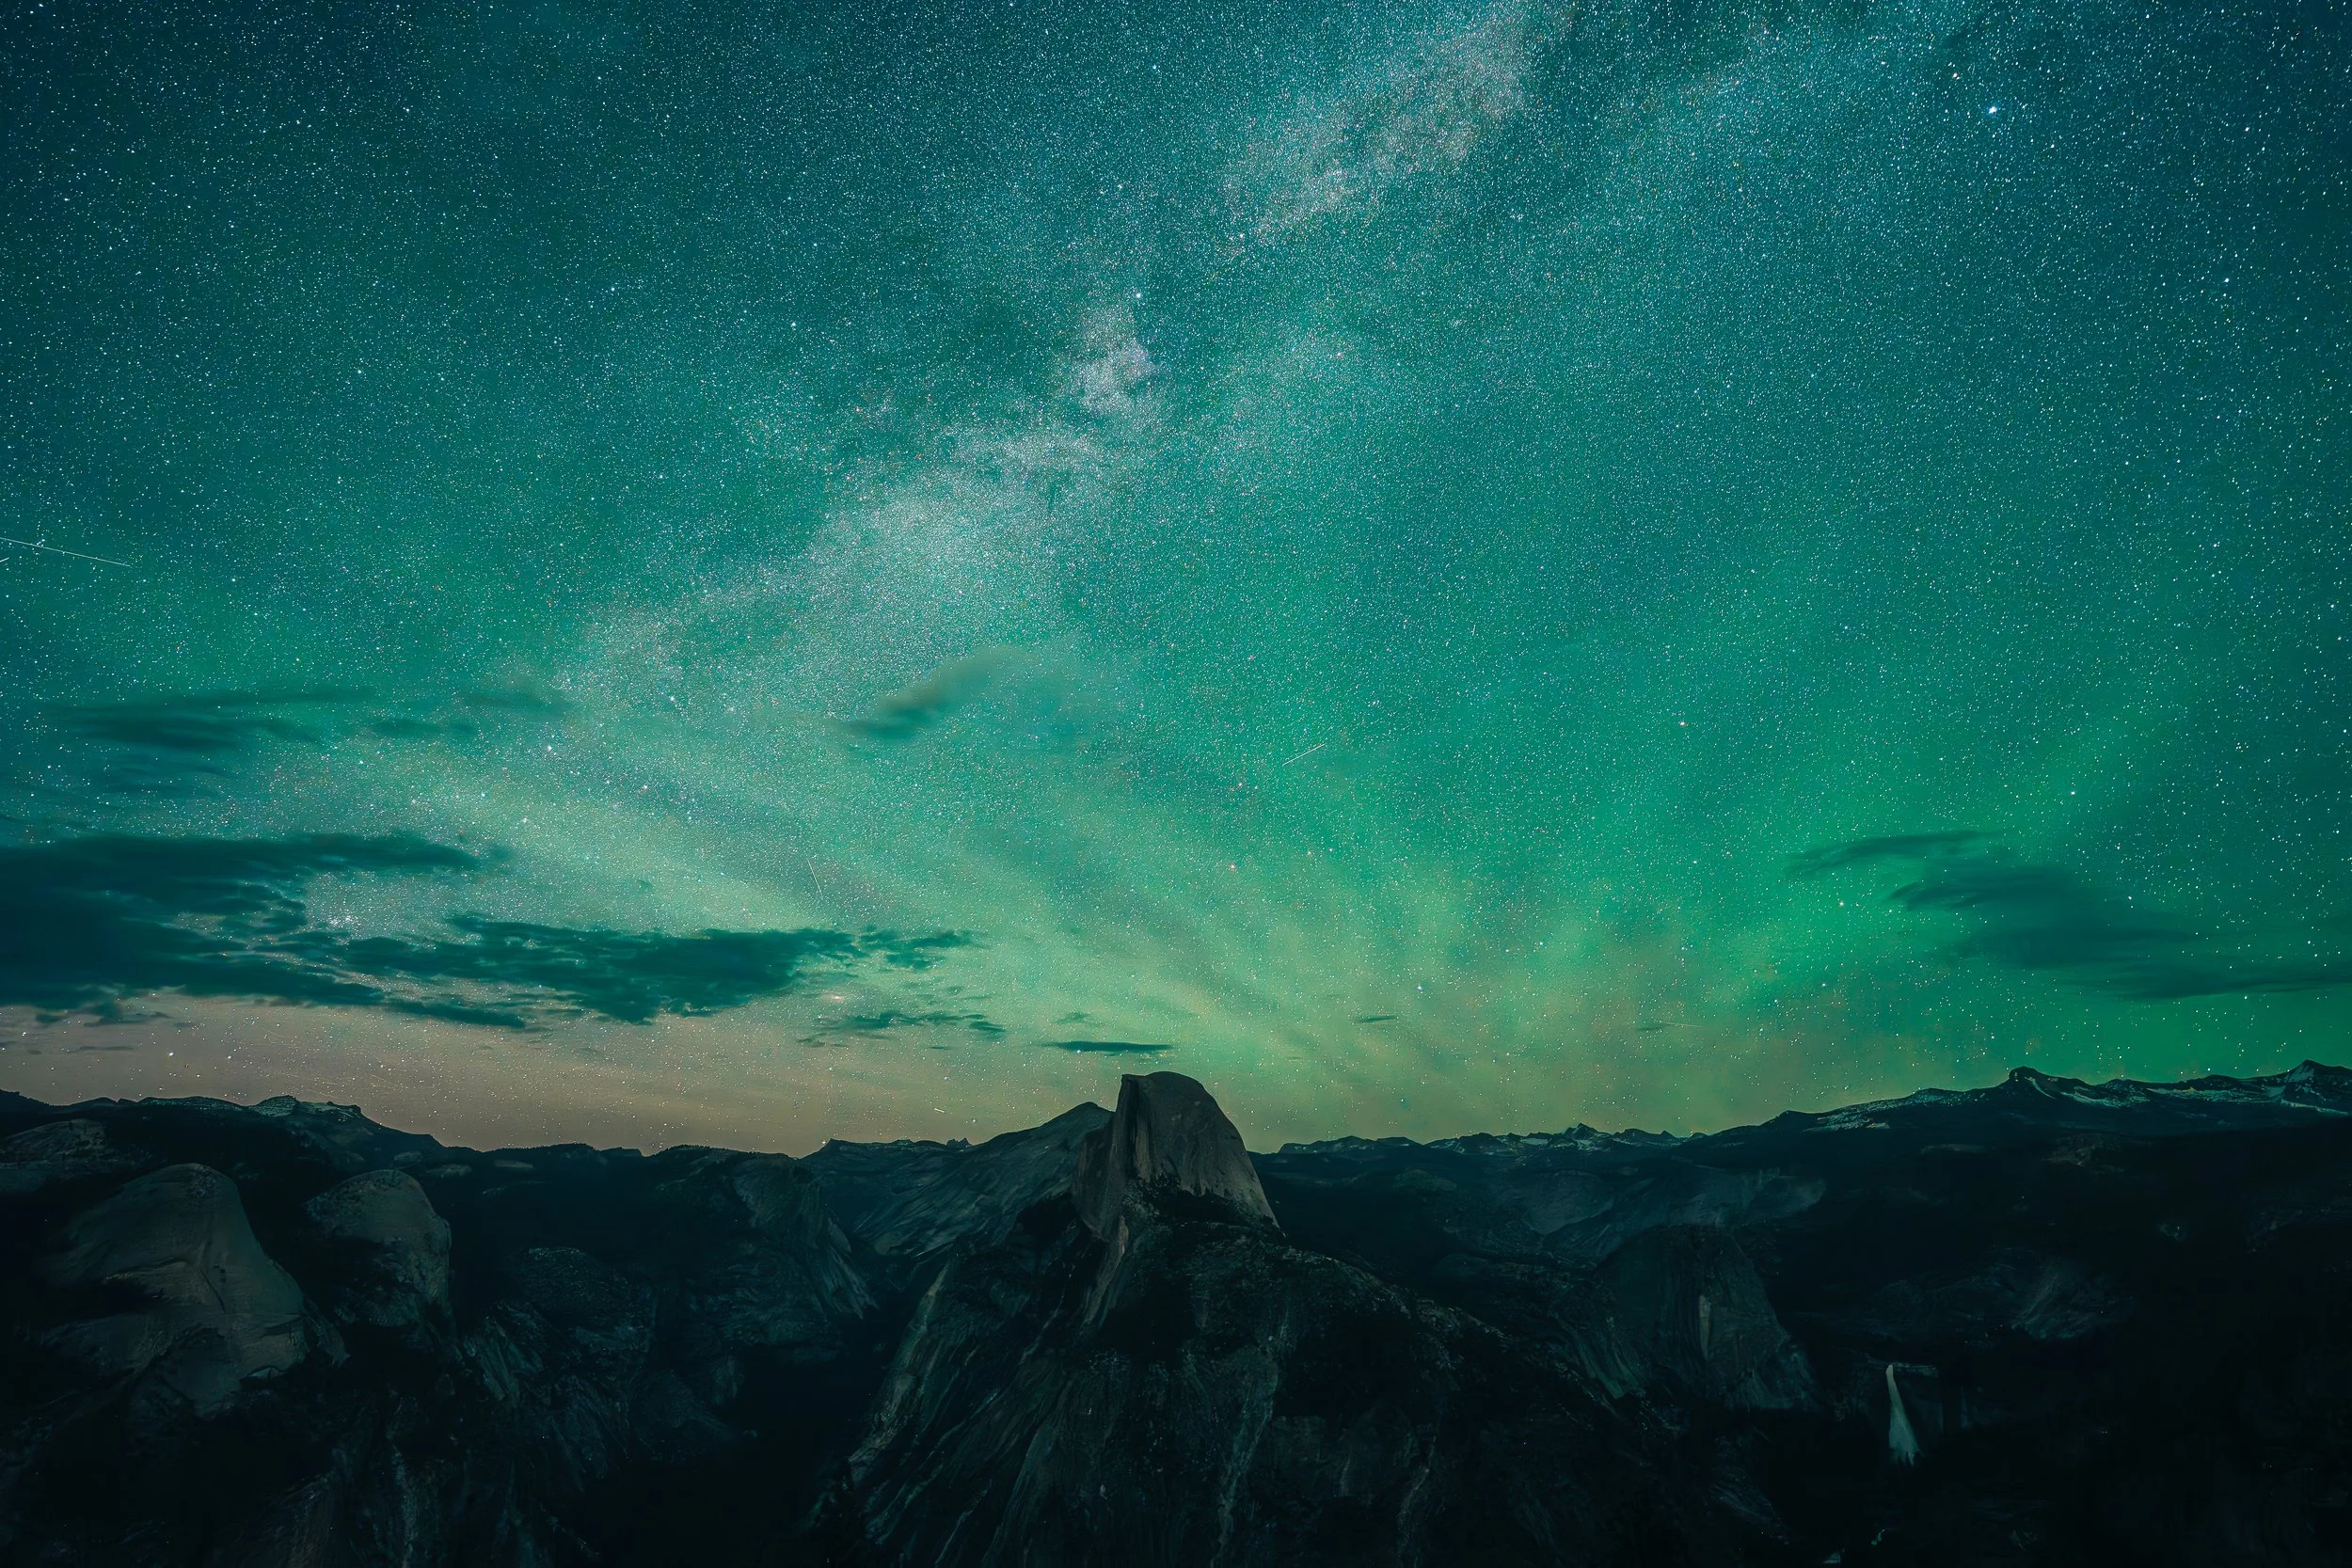
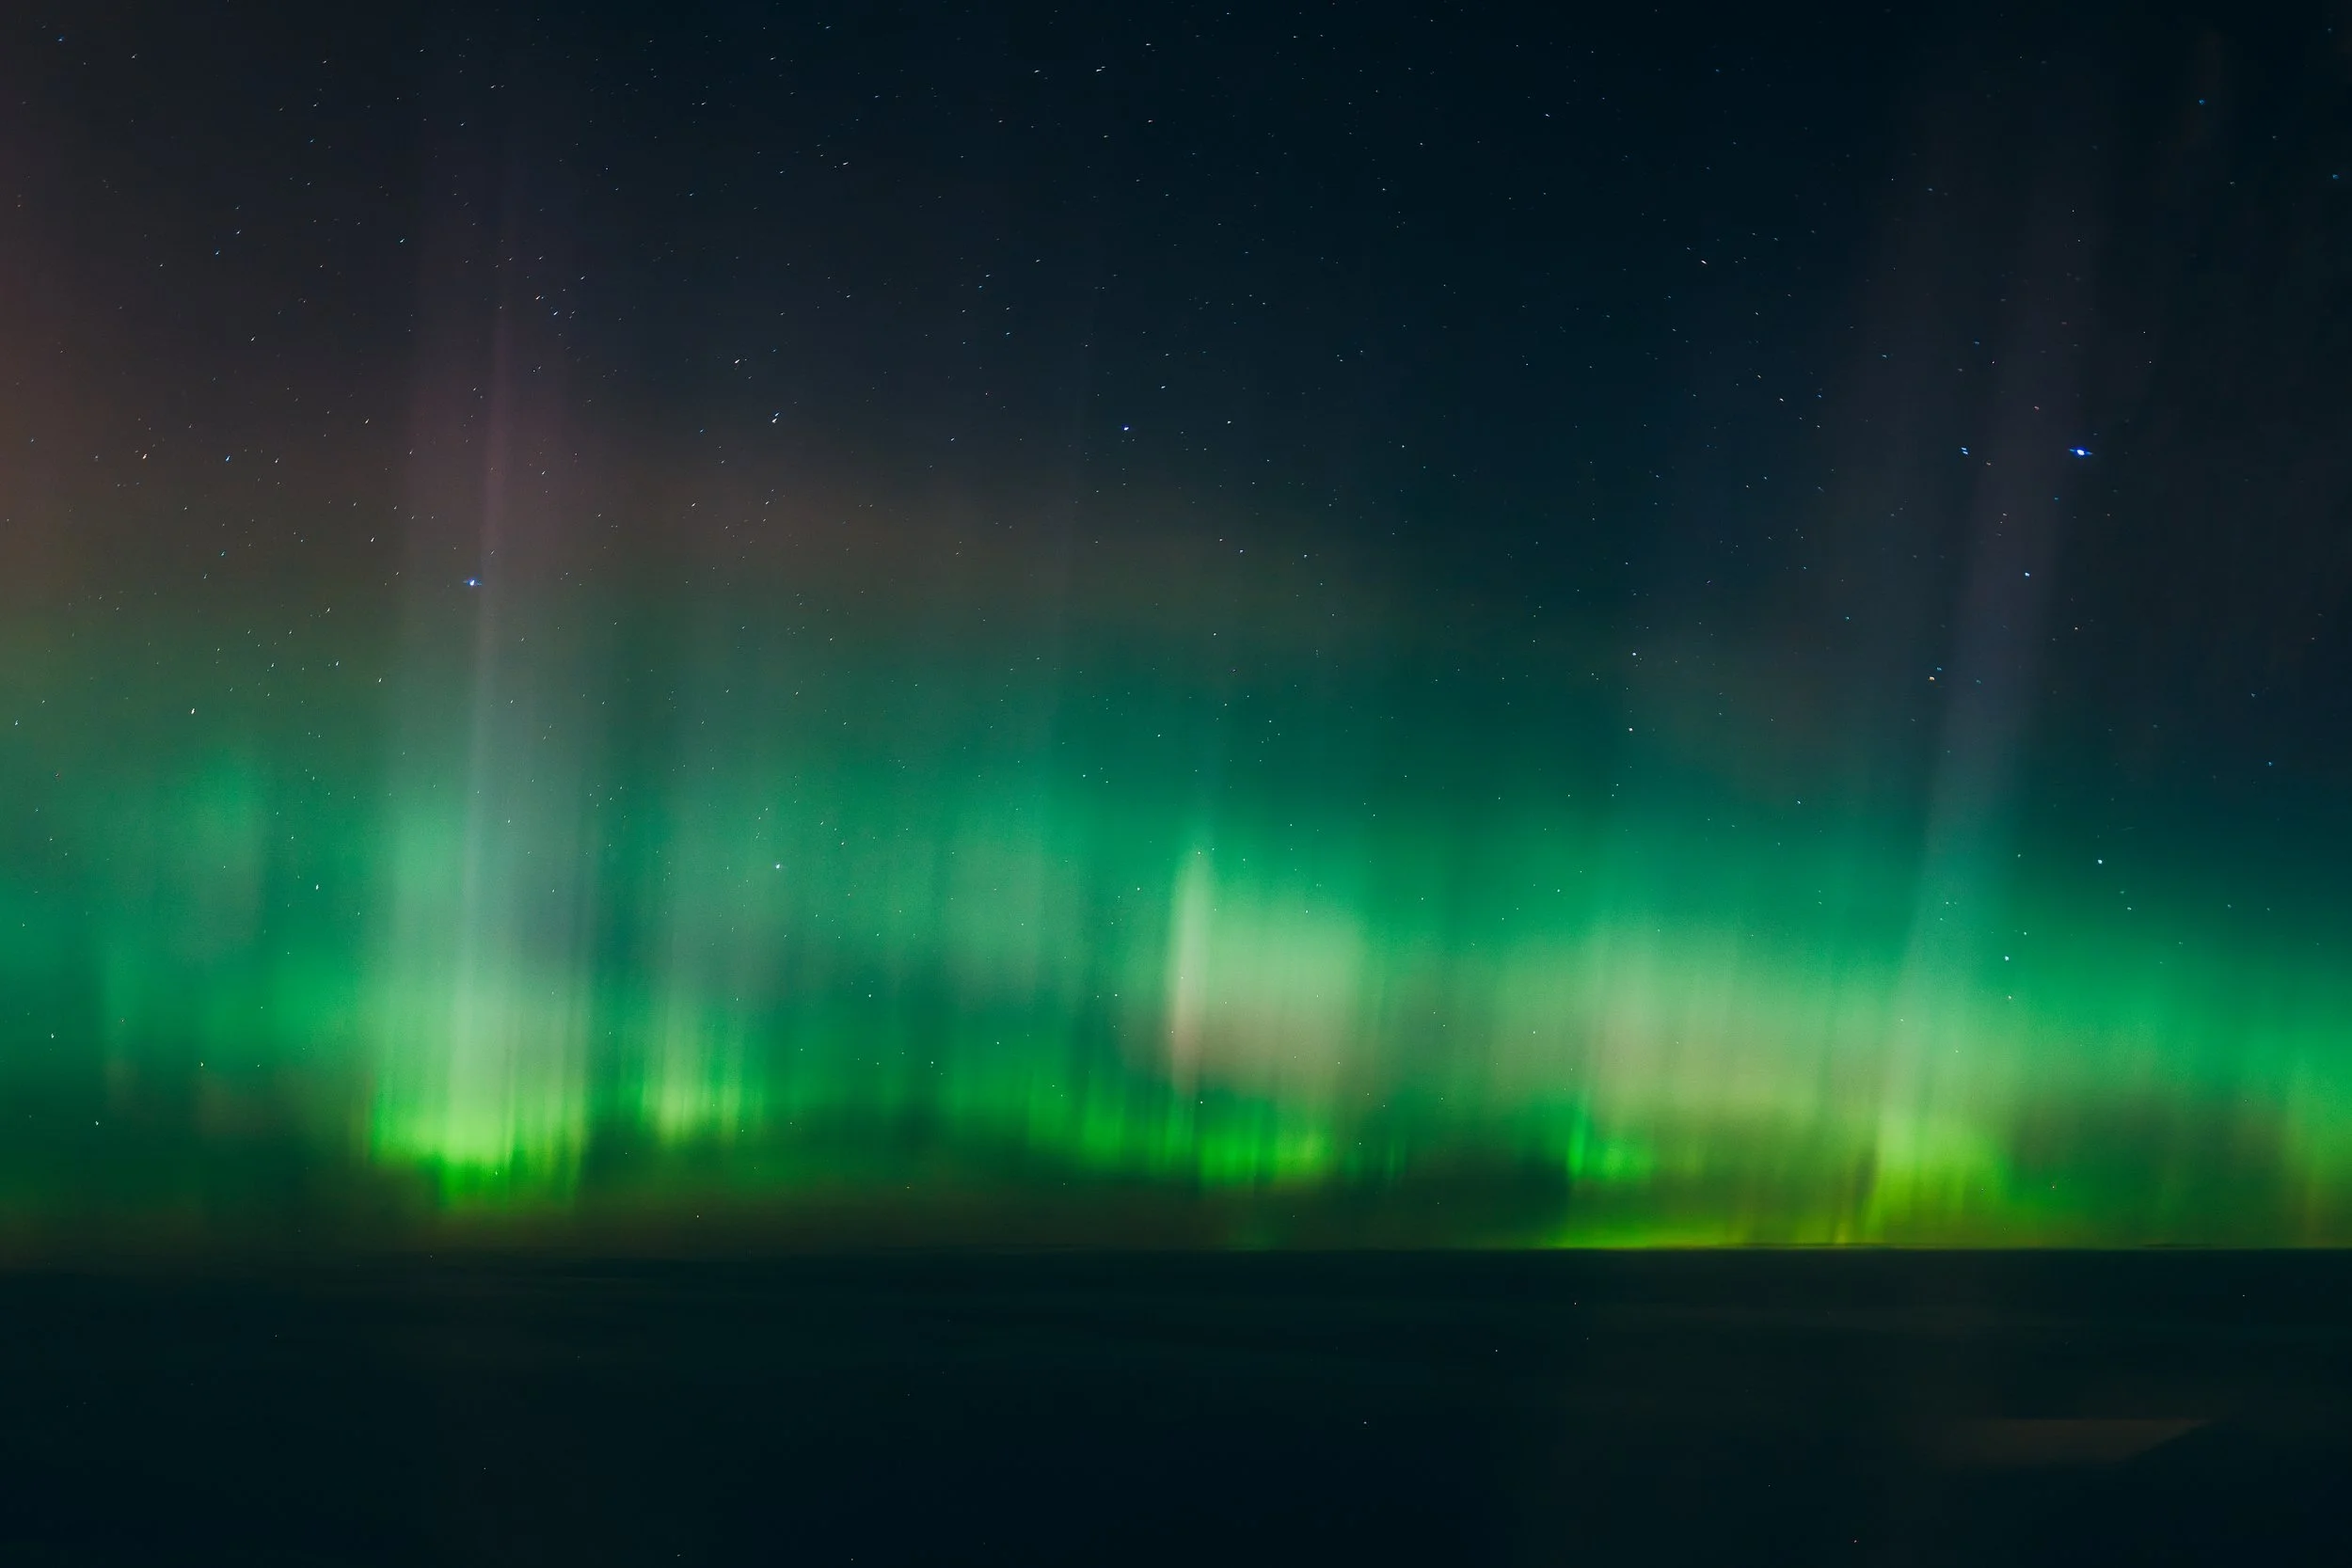
The Aurora Borealis over Yosemite National Park, California. June 2025
Part 1: Having the right gear
What if I told you that most basic smartphones have the ability to take somewhat decent quality photos of our night sky 👀 That’s right! Your iPhone 11 from 2019 could take photos of the milky way and the aurora, and I mean sure… they won’t be the same quality that you would get from shooting with a professional camera, but you don’t need a professional camera to start learning the basics. So let’s talk about gear:
📸 The most basic necessity you are going to need to be successful (outside of the actual camera or smartphone) is a tripod. You need a sturdy surface to hold your camera or you can lean it onto something sturdy if you don’t have one. My go to tripod for the last 3+ years has been this carbon fiber tripod from ProMaster Photo, but there are other great brands out there, too. Some reputable brands include Peak Design, Gitzo, Really Right Stuff, and Manfrotto. I also love a good phone clamp for my tripod so I can capture content on my phone as well. I use this specific phone clamp, and in my opinion it’s well worth the $20.
📸 For lenses, you don’t need the best of the best, but you are going to want to likely go as wide as possible in both aperture and focal length. My go-to astro lens is the Sony 14mm f/1.8 GM, but I also use my Sony 12-24mm f/2.8 GM quite often and sometimes even my Sony 24-70mm f/2.8 GMII.
📸 “I only have a super old Canon Rebel t3i… can I still do this?” Yes, you absolutely can! You don’t need a fancy new camera to shoot astro, and you don’t need tens of thousands of dollars worth of gear to get a good shot. You just need a camera body + whatever your widest lens is (with preferably your widest aperture). If you have an older camera body, check to see if you have an intervalometer option. If it doesn’t, you’ll want to purchase a remote for your camera. All this means is that it’s one extra step, but it’s easy to use. Just make sure you’re on a continuous shooting setting ☺︎
📸 Would you believe me if I told you more times than not, the one item I’ll forget time after time is not a battery or a SD card… its a headlamp! While it’s not 100% a necessity to have while shooting astro, it helps tons. I especially love ones that have red light options, but realistically any that have dimming functions are great. The batteries will last you quite a while, but brands like Black Diamond also make rechargeable headlamps that I’d probably recommend more than one that requires batteries.
📸 Last but not least, your helpful planner: the PhotoPills App. I swear by this app, and I have sworn by this app for several years. There is a one time fee for this app, but I promise it’s worth the money. You can use this app for so many things, but my favorite is the Night AR function that will help you plan exactly where the Milky Way will show and at exactly at what time. This is the perfect app to use while you’re scouting locations because who wants to get their hopes up for the coolest astro comp, only to be mistaken and be off by several feet of where you thought the core would rise?
Part 2: Setting up your camera
These days, I almost always shoot on my Sony a 7C II because it’s lightweight and compact so it makes for the perfect travel body, but there are also times I shoot on my Sony a 7R V because the high MP count helps me zoom in more easily without losing much, or any, detail in the shot. Camera brands, and even bodies within the same brand, are often created with different menu settings so while I cannot provide a step-by-step of navigating your camera, you should be able to find how to access the following settings with a quick Google search ☺︎
📸 One thing I try to never forget while I’m shooting Astro is to turn off the image stabilization option on my lens. While you’re navigating your lens settings, this is the time to turn your lens off from auto focus and on to manual focus. You’re going to need to focus on the brightest star you can find, but that’s not for quite a few steps.
📸 Lets change your camera settings to be more ideal for our night sky! First up is ISO. Your lens of choice will be the deciding factor in how much you bump up your ISO, but for reference with my 14mm f/1.8, I normally start with an ISO of 1600. If your lens doesn’t go wider than f/4, a safe start for your ISO will likely be around 3200. Keep in mind you will be taking a test shot prior to finally shooting and tons can go into how high you need your ISO to be (is there any moon visibility, or city lights nearby?).
📸 Next up is your shutter speed. It’s important to know what your goal of shooting the stars is because different things require different shutter speeds. For example, are you facing true north and looking to capture star trails? You can leave your shutter open for 30 seconds (or longer) for the best result. Is your goal to capture the Milky Way? For this, there are some cheat codes to figuring it out, but personally my sure-fire way of making sure there are no star trails is just by trial and error. My sweet spot for the Milky Way is typically between 12-15s. I’ve found regardless of the lens and regardless of my self-diagnosed-OCD, I can somewhat see some sort of star trails when I leave it open for longer so I choose to always max it out by 15s.
📸 If you’re shooting the Northern Lights (or the Southern Lights), you’re going to first need to determine how active the Aurora is. If she’s dancing pretty rapidly, you really only need sometimes between 1-3s. If she’s active but not in ultra party mode, 4-10s could be better. It really just depends on how active she is in that moment, but be prepared for that to change in an instant. **Keep in mind that for something like the Northern Lights, since your shutter speed will depend on how active the Aurora is, this may mean you’re changing your ISO to compensate for lack of light making its way through the lens.
📸 Once you have your ISO and shutter speed set up properly, it’s time to manually focus on a star. Your comp may not be perfect right now and that’s totally okay! You can fix your comp once you know what you’re shooting is even in focus. To manually focus on the brightest star, move your focus on the display screen to a part of the sky that shows you the brightest sky. Turn your manual dial until that star is in focus. Take a test shot to make sure what you were thinking is in focus, is actually in focus. If it’s not in focus, no big deal. Just keep turning that manual focus dial until you get those stars in focus. **Even if you turn your manual focus to ‘infinity,’ you’re not guaranteed to have your stars in focus. I’ve done this before and was very humbled so make sure you’re actually testing to see where that dial needs to actually be for your stars to be in focus.
📸 Now it’s time to set up that intervalometer, or plug in your remote to your camera. On Sony, you can find your intervalometer settings within your Menu → Shooting → Drive Mode → Interval Shoot Function → turn ON. I like to keep my ‘Shooting Start Time’ at 2s, with a ‘Shooting Interval’ of 4s between shots and my ‘Number of Shots’ at 500.
Handheld from a plane window. The Northern Lights en route from SFO-NRT. January, 2026
Part 3: Post production
I don’t know about you guys, but as soon as I finish a successful astro shoot (and honestly most of the time during the shoot), I’m already thinking about how cool my photos or timelapse will look when I’m done putting it together. So let’s talk about how the heck we get a timelapse, or what to do next after we get home from our shoot and we’re ready to edit these photos.
📸 First things first: you need to edit a photo. It doesn’t matter which one, but you need to edit one and make it look however you’re content with it looking.
📸 Lets talk timelapse ✨ Start by creating a new folder. You’re going to save all of these photos that belong in the timelapse into this folder, numbered sequentially. This way you know what goes where and can make sure this timelapse comes out exactly as it should. My favorite (and probably the world’s easiest) method of producing a timelapse is actually through Davinci Resolve. If you’re not a videographer in any sense of the word, you likely won’t have Davinci Resolve installed on your desktop. The good news is that it’s free to download and once you have it downloaded, you can also teach yourself something new and learn how to colorgrade videos. Exciting, eh? 😇
📸 Once you’re in Davinci, you’re going to first fix your frame rate and resolution within the project settings to make sure it’s what you want it to be. I normally put my frame rate for timelapses at 30fps, but 24fps is common as well. Then you’ll want to head on over to the ‘Media’ tab. On the top left of your screen, you should see all of your files. You’re going to find the folder your created for this timelapse and click on it. There will be a preview that pops up in the box directly to the right of these folders. Right click on the file/preview and click ‘Add into Media Pool.’ Then head over to the ‘Edit’ tab and drag that file into your timeline. From there you can edit your timelapse even more by adding keyframes like zooming in/out, and you’re done!
📸 Thinking you want to try to create star trails? ✨ No problem! There are various methods you can use to create your star trail photo, but my favorite is the free program called StarStax. I must have downloaded this for the first time back in 2018 or 2019, but it works like a charm every time. You’ll just drag and drop all of your photos into here and it will automatically stack them for you. Photoshop and lightroom also can both stack your photos for you, but in my opinion StarStax is the fastest and easiest method.
📸 Does the Milky Way fill your cup? ✨ Mine too. Post processing of the Milky Way honestly is pretty easy. While most professional photographers will tell you to stack 3-5+ photos to bring out all the details and show as many stars as possible, my personal (and maybe unpopular) opinion is that it’s all in your preference. The photos you see on this blog page of the Milky Way are all single frame photos, but if you’d like to stack yours, Photoshop is probably the easiest method by going to ‘File’ → ‘Scripts’ → ‘Load Files into Stack.’ You’ll also go to ‘Edit’ → ‘Auto-Align Layers’. Then convert to a smart object and apply ‘Stack Mode’ → Median
If you found this guide helpful at all, send me a DM or an email and let me know! If you think I left out something useful or you’d love for me to write a guide on something else, I’d love to hear about it ❤︎